Your Shopping Cart


ICONSIGN Upgrade Lash Lift Kit – Long-Lasting Eyelash Curl & Volume (6-8 Weeks)
- Regular price
- $13.80
- Sale price
- $13.80
- Regular price
-
$0.00 - Unit price
- per
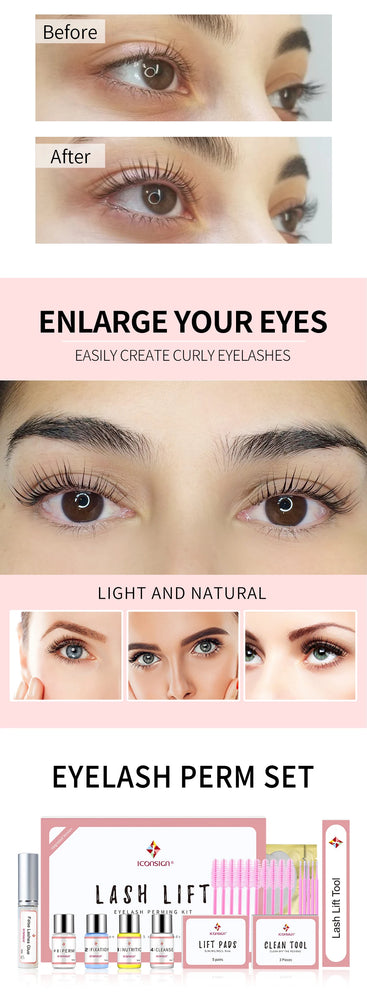
✨ ICONSIGN Upgrade Version Lash Lift Kit – Long-Lasting Eyelash Curl & Volume ✨
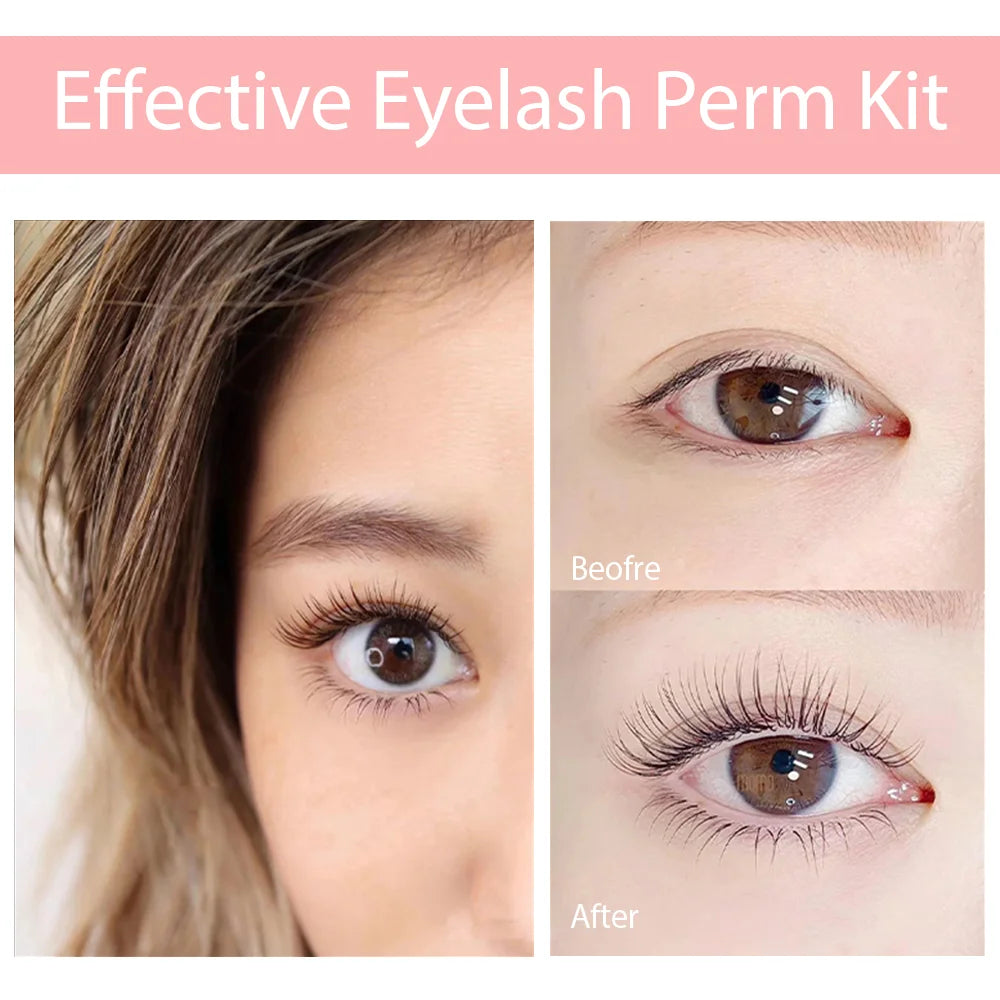
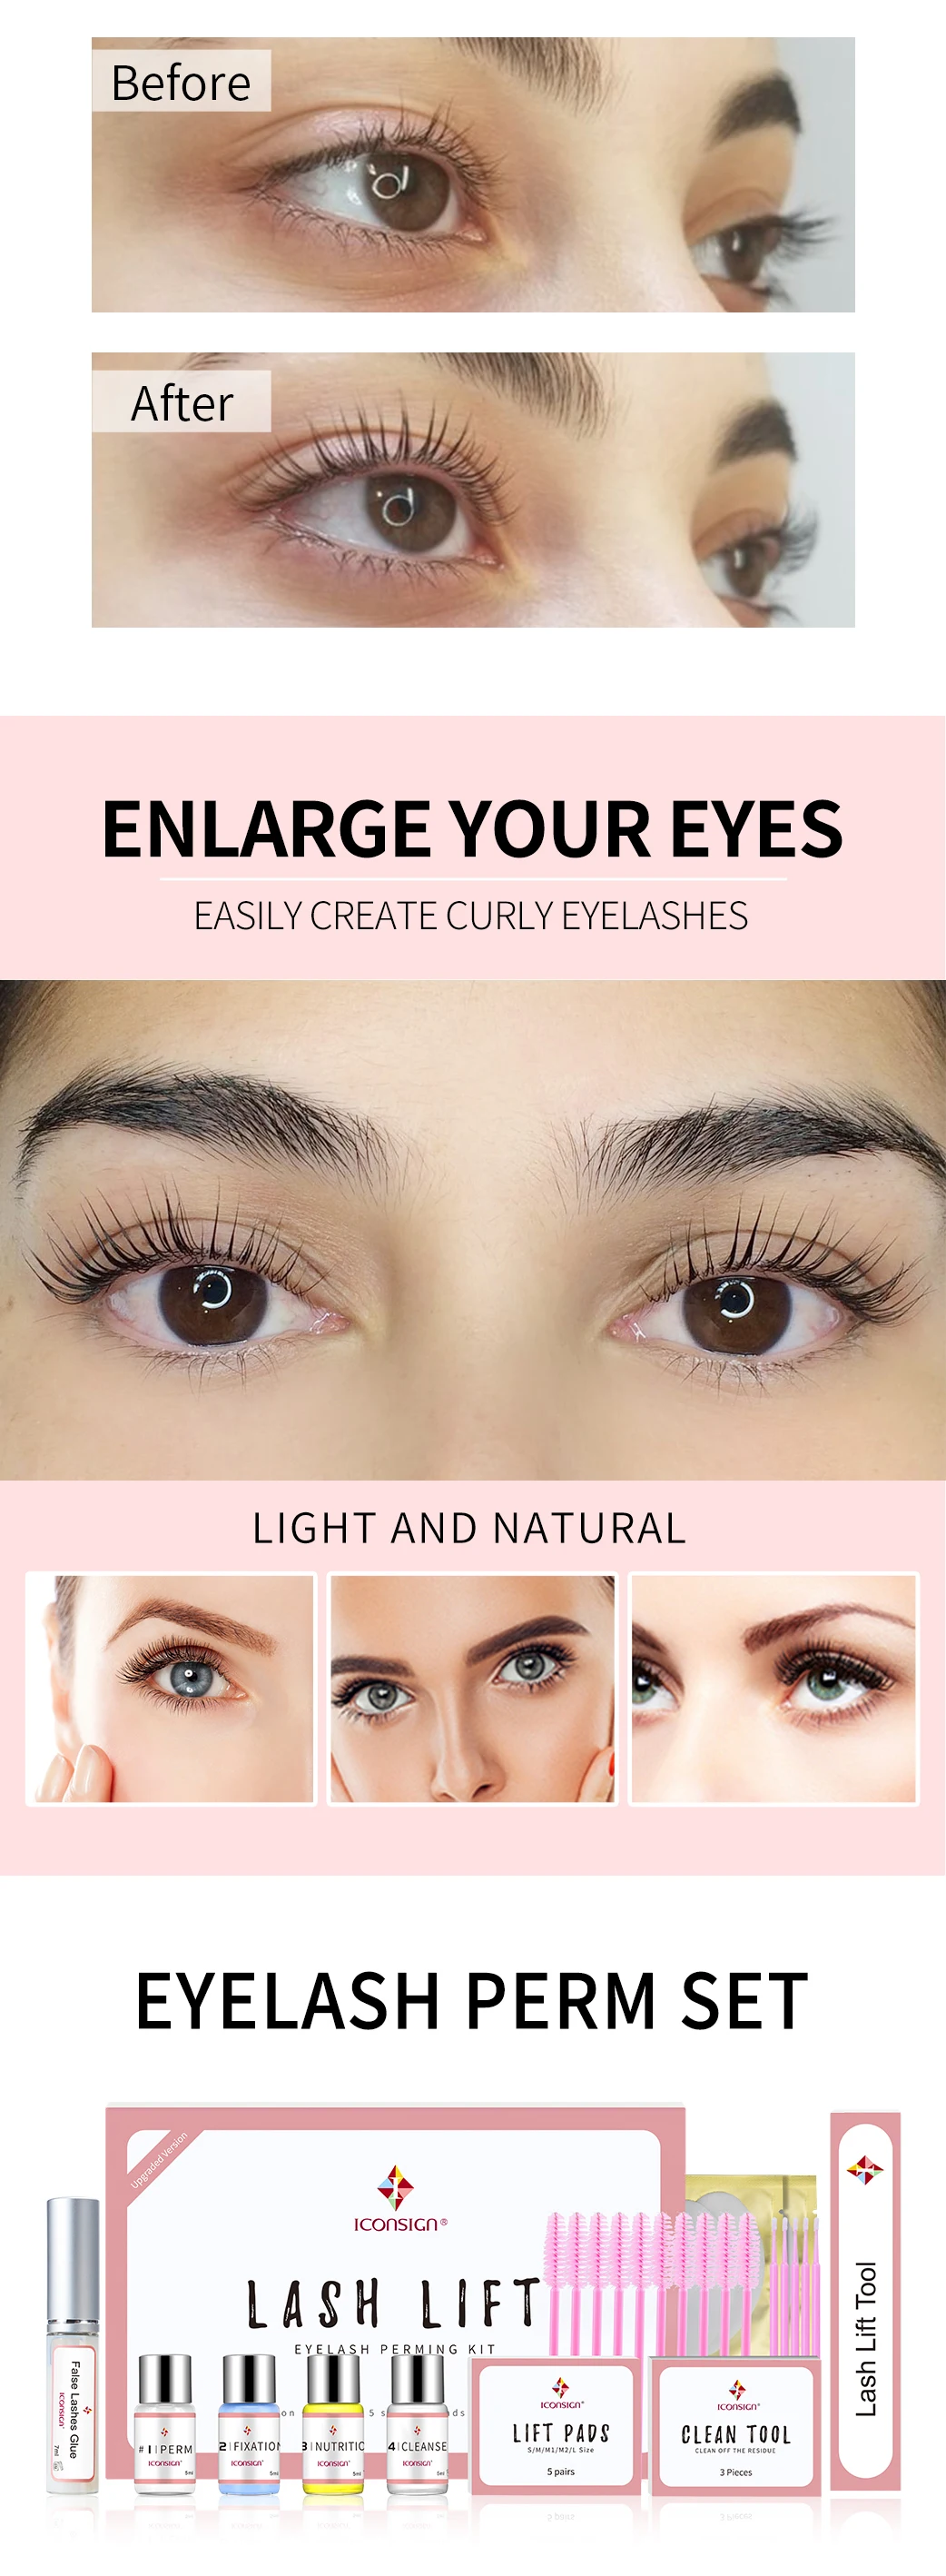
Achieve stunning, salon-quality lifted lashes at home with the ICONSIGN Upgrade Version Lash Lift Kit! This enhanced formula ensures beautifully curled lashes that last 6-8 weeks, giving your eyes a naturally lifted and voluminous look.
💖 Why You’ll Love It:
✔ Long-Lasting Curl – Enjoy lifted lashes for up to 8 weeks.
✔ Easy At-Home or Salon Use – Simple application with professional results.
✔ Gentle & Safe Formula – Designed to nourish lashes while enhancing their curl.
✔ Cost-Effective & Time-Saving – Skip the salon and achieve professional results at home.
✔ All-in-One Kit – Includes everything needed for a perfect lash lift.
💡 How to Use: Follow the step-by-step instructions included in the kit for a flawless lash lift that enhances your natural beauty! 💕

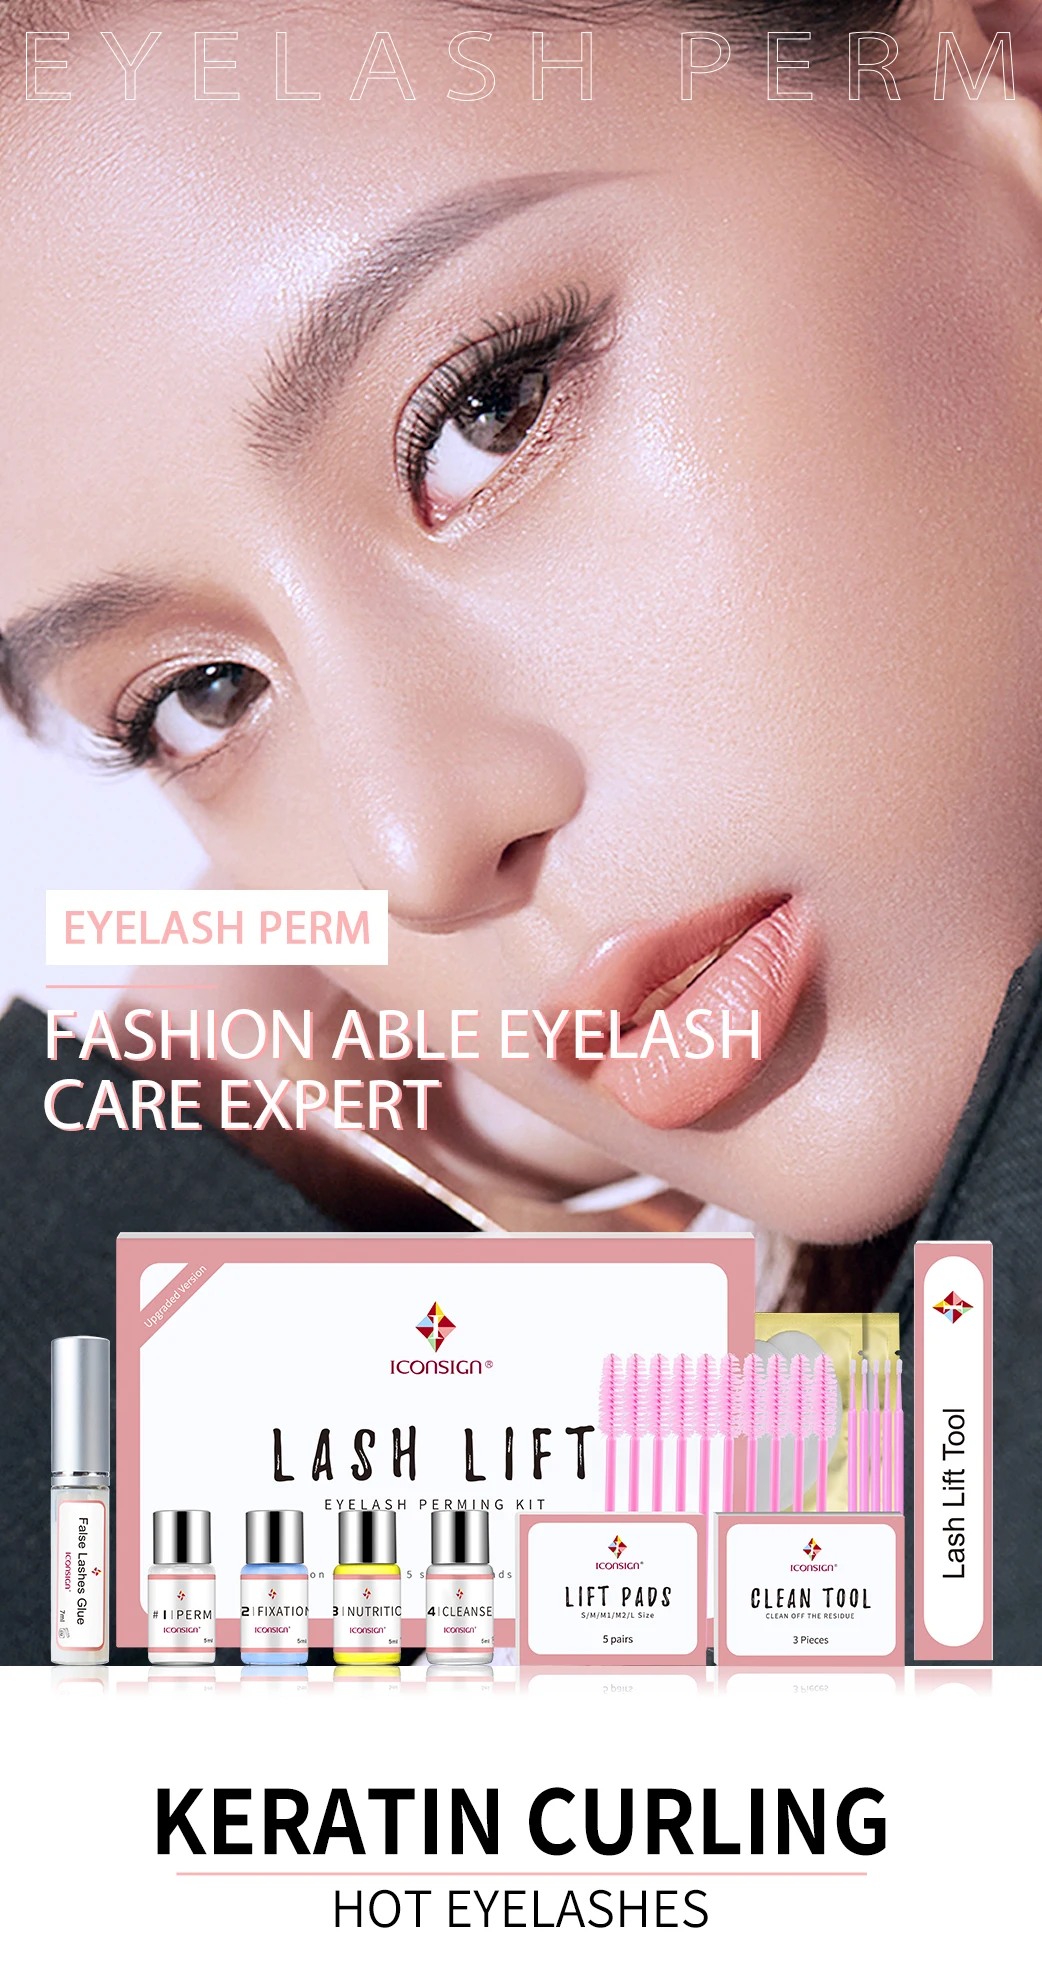
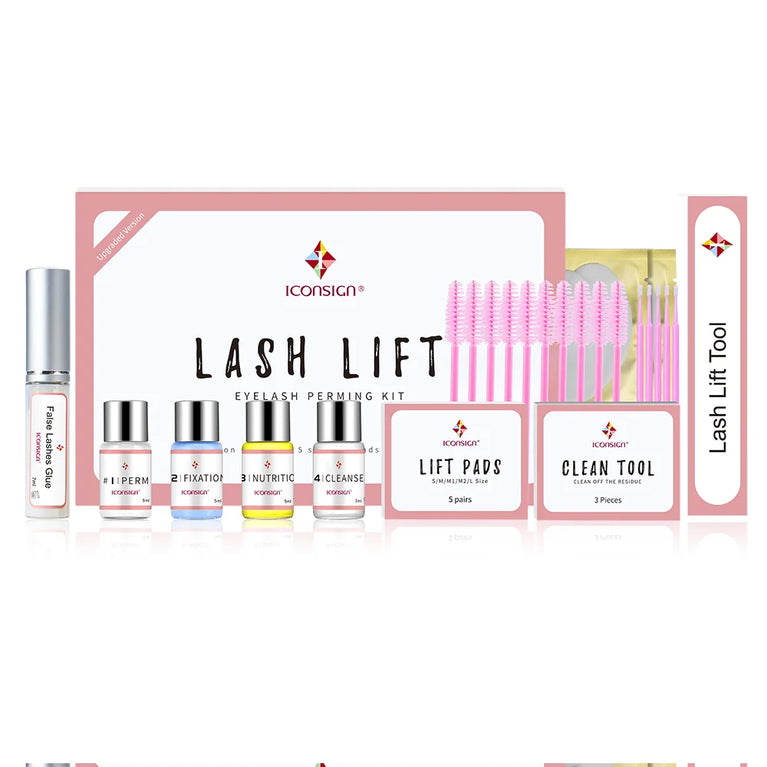
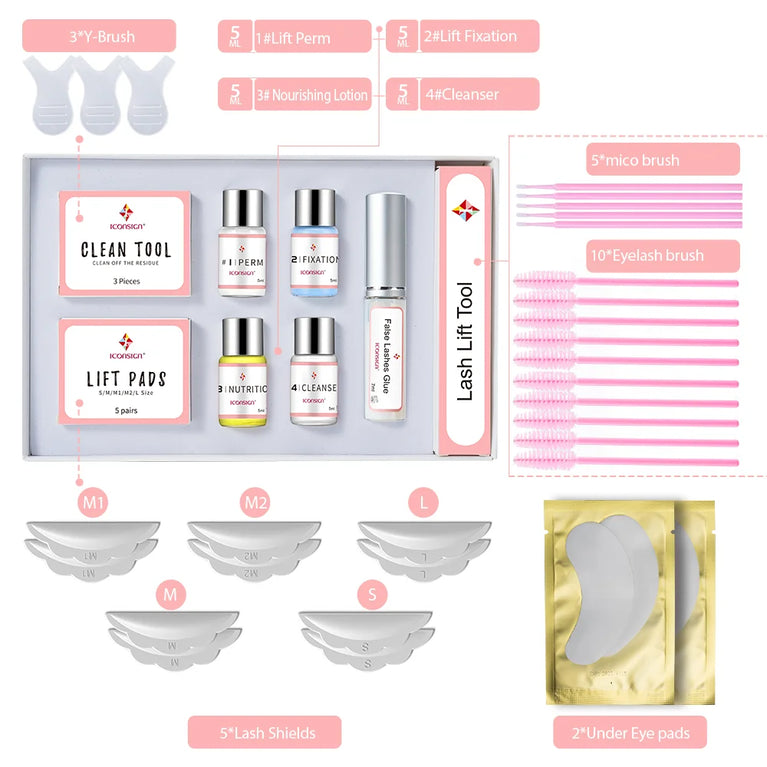
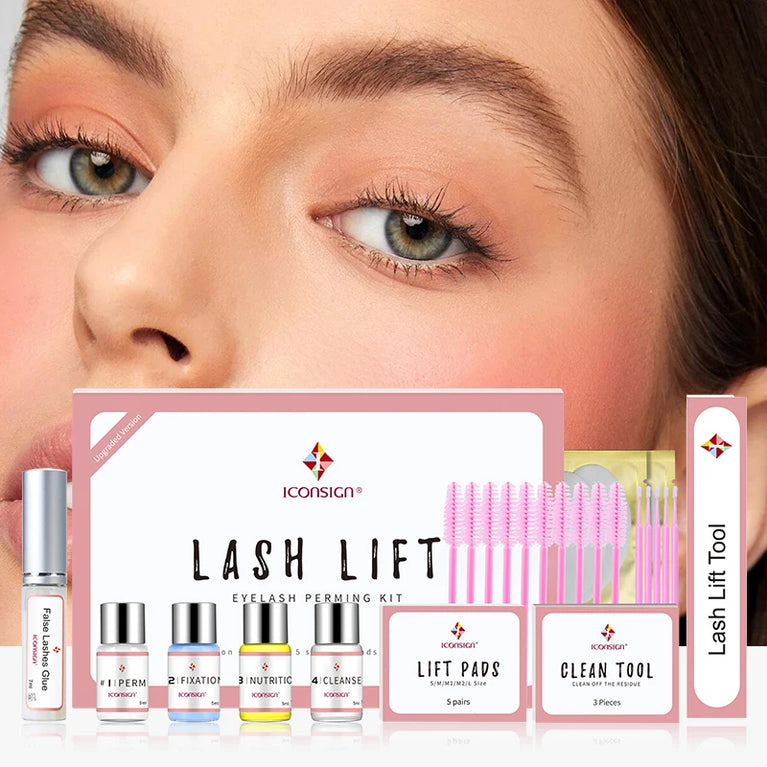
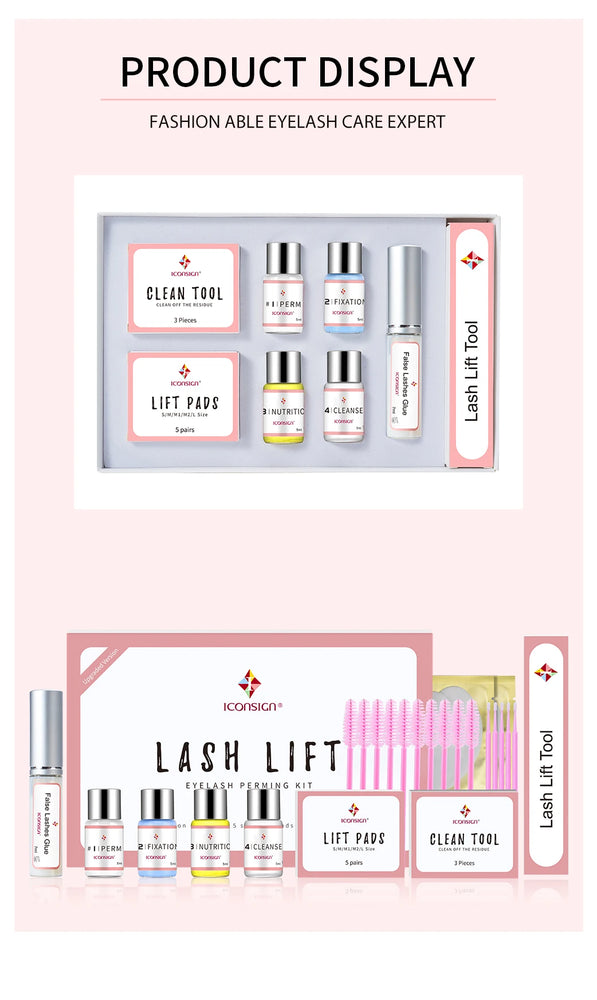
A 10-piece set with everything you need for a full lash perm
You won't have to buy any other tools, creams or glue. All you need for a long-lasting curl comes in one box.
Specifications:
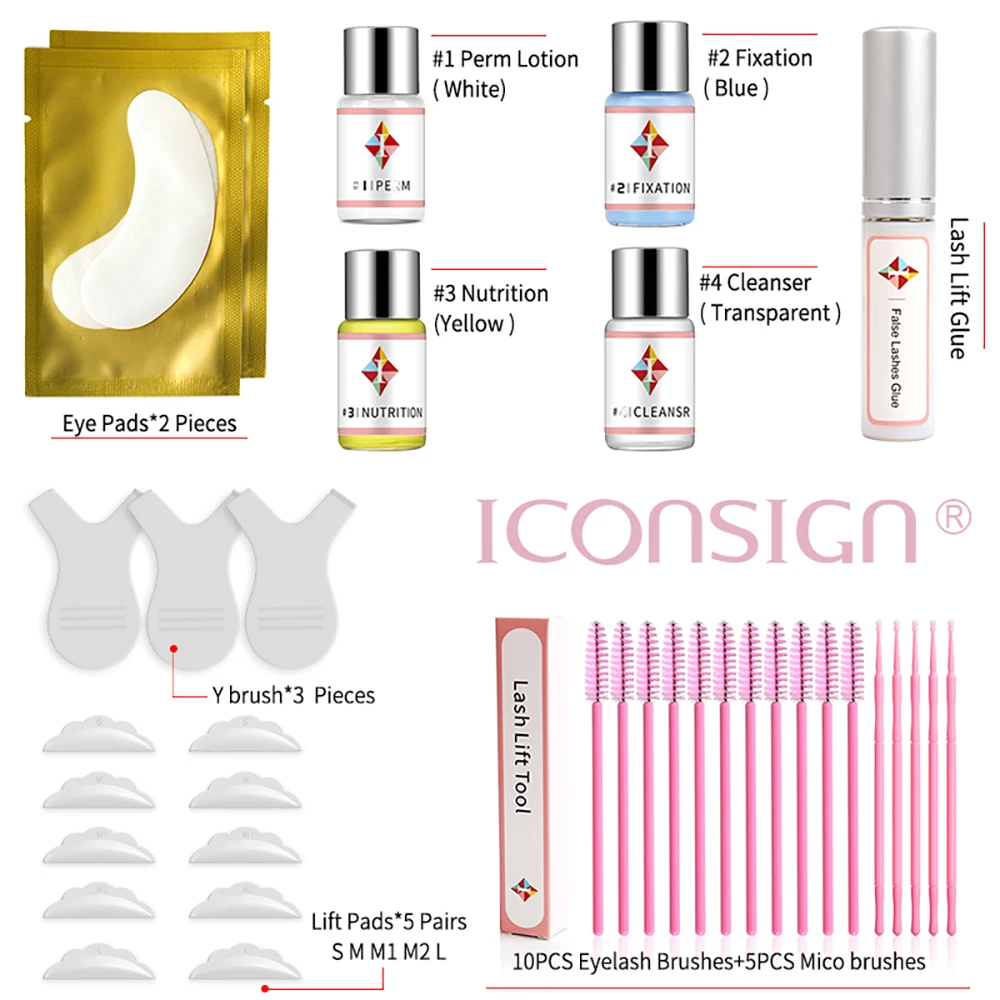
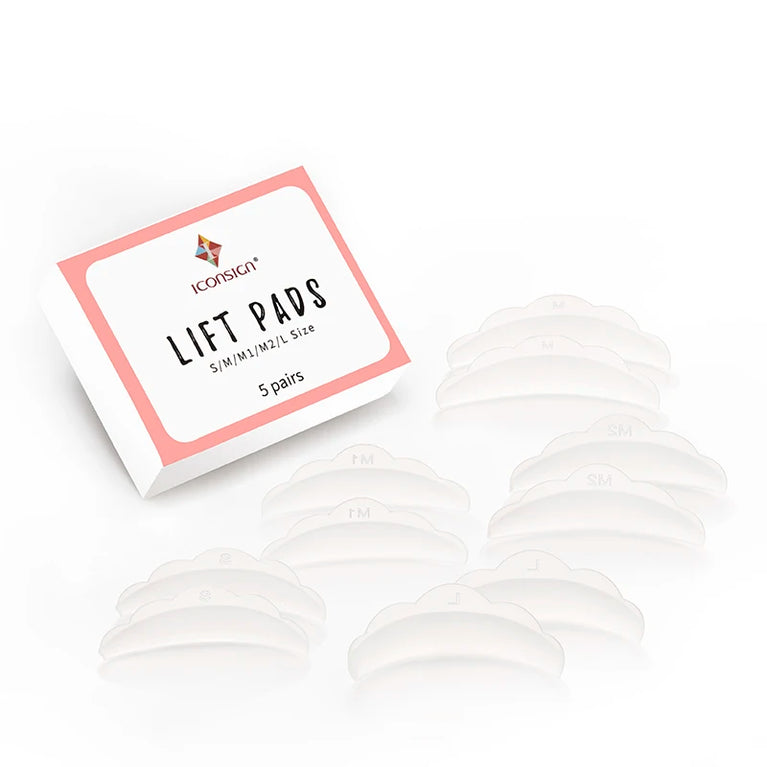
1. Silicone perming rod: 5 pairs(S,M,M1,M2,L)
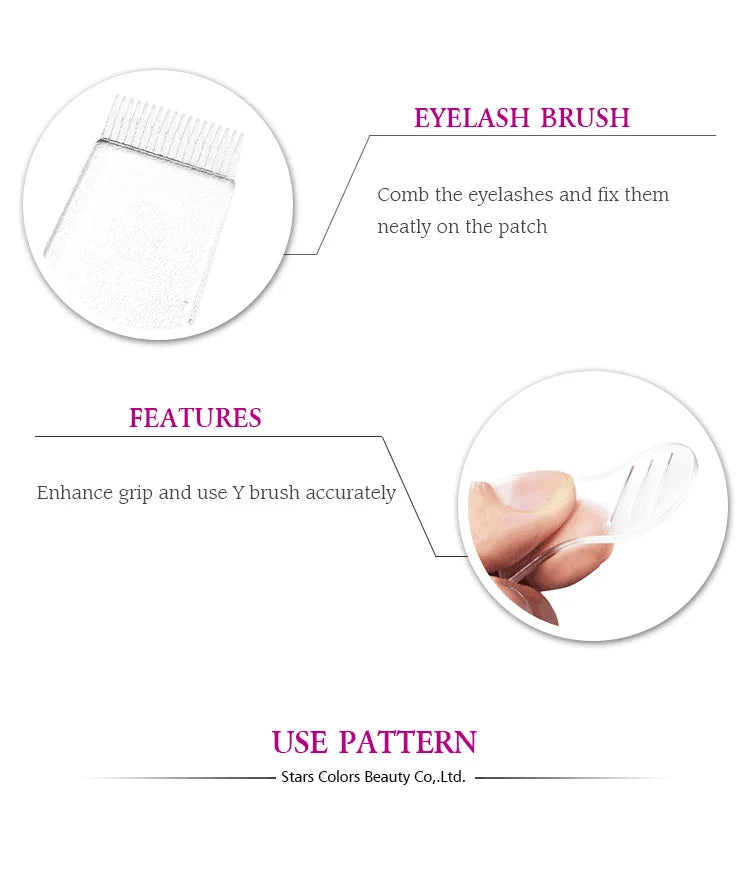
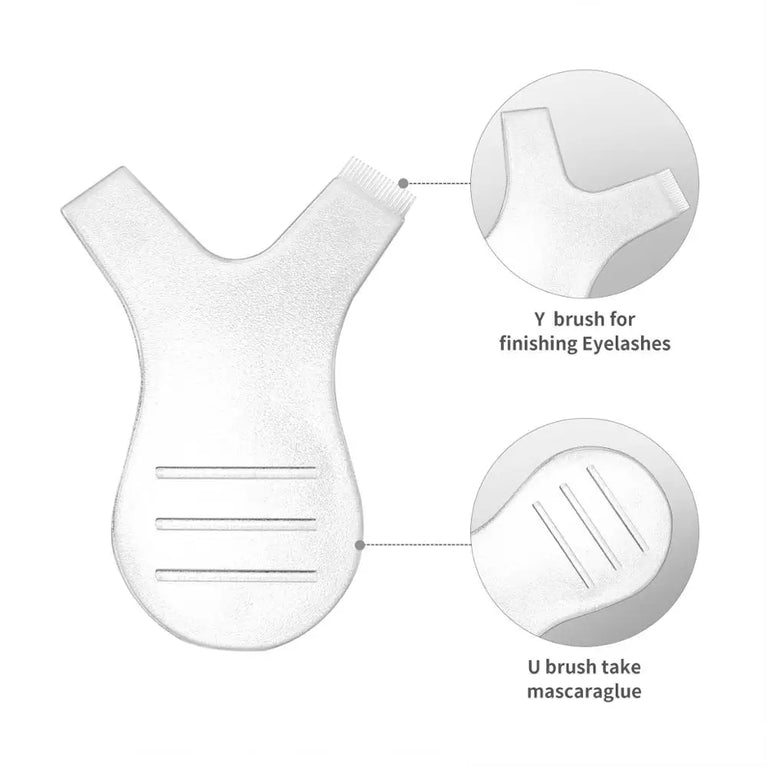
2. 2 Heands Y-shape Brushes: 3 pieces
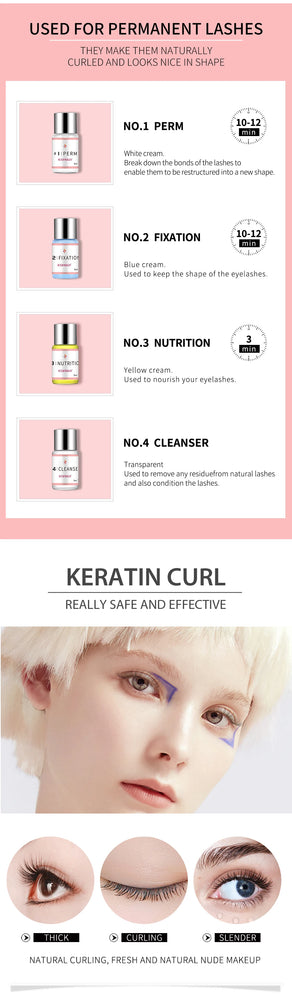
3. Cleanser lotion :1 bottle
4. Perming lotion : 1 bottle
5. Fixing lotion : 1 bottle
6. Nutrition lotion : 1 bottle
7. 5ml/bottle False Lashes Glue: 1 bottle
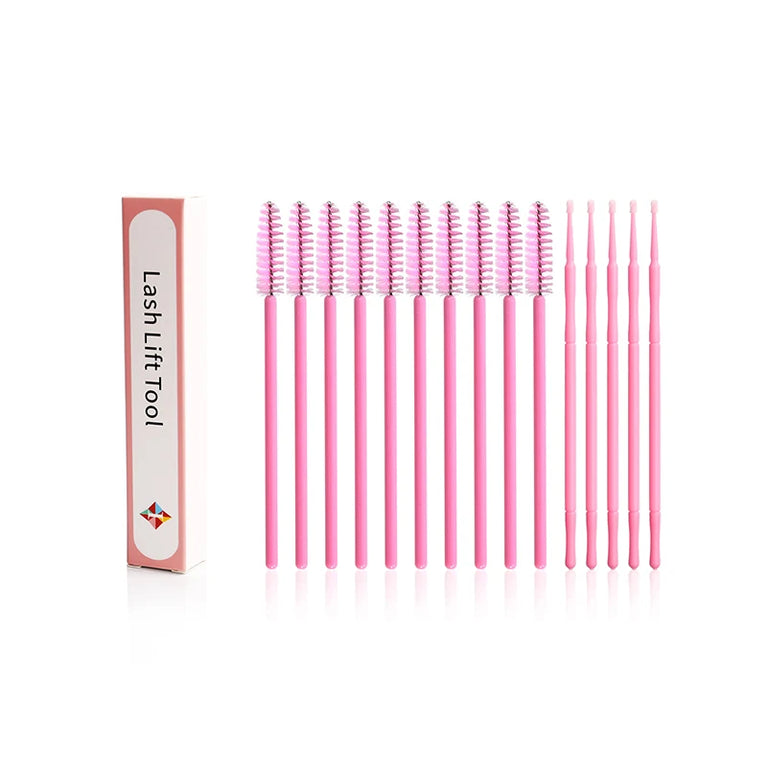
8. Eyelash Brush: 10 pieces
9. Micro brush: 5 pieces
10. Eye pads: 2 bags
11. Packaging: Whole small kit in one poly bag,save space and shipping cost.
Aftercare instructions:
1.Apply the nourishing aftercare formula to your lashes once every 4–5 days.
2.Approved ingredients that are kind to your skin.
3.Safety-tested and certified, the carefully formulated products won't irritate the delicate skin around your eye. Still, you should always do an allergy test 24 hours before use.

How to use
Application Instructions: Easy-to-follow application instructions for professionals and amateurs alike
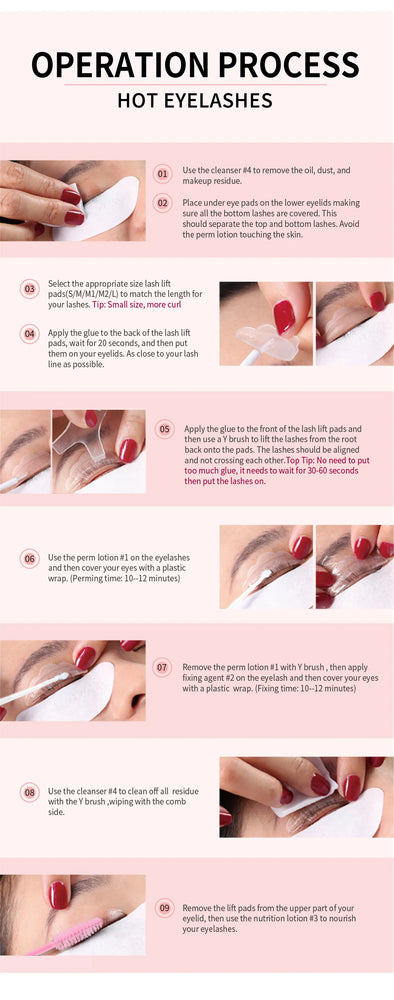
Step 1: Use the cleanser to remove any oil, dust or makeup residue from the eyelashes
Step 2: Put the under-eye pads on the lower eyelids
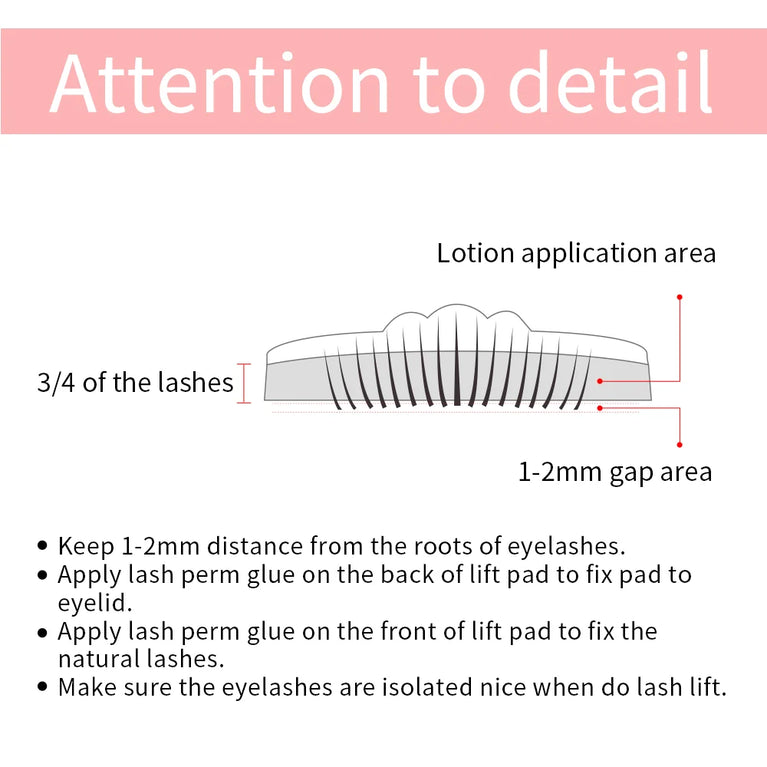
Step 3: Apply the glue to the back of the lash lift pads, wait for 20 seconds, then put them on your eyelids. As close to your lash line as possible.
Step 4: Apply the glue to the front of the lash lift pads. (Top Tip: No need to put too much glue, it needs to wait for 30-60 seconds then put the lashes on.)
Step 5: Use a Y brush to lift the lashes from the root back onto the pads. The lashes should be aligned and not crossing each other.
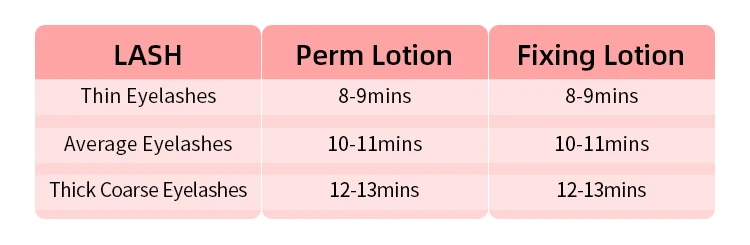
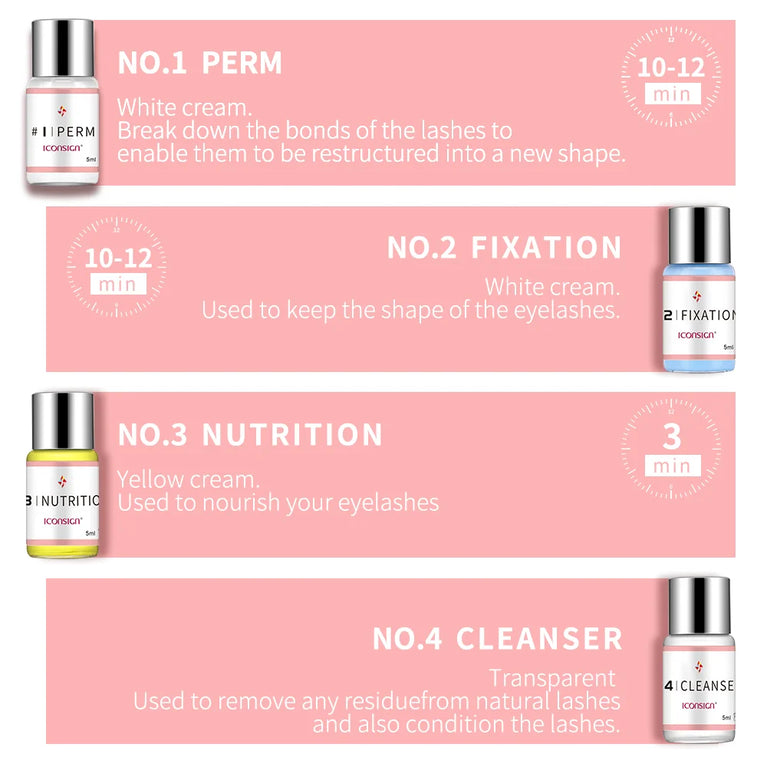
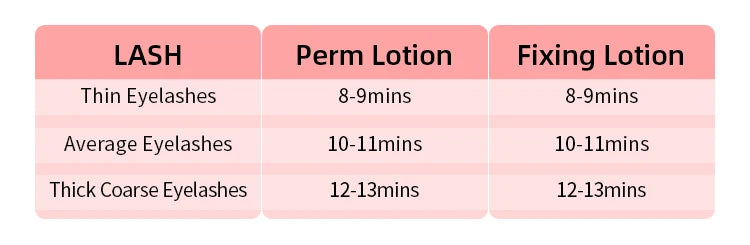
Step 6: Apply the perming lotion #1 to the eyelashes. Then cover the eyes with plastic wrap and leave for 10 minutes.
Step 7: Remove the perm lotion #1 with Y brush , then apply the fixing lotion #2 to the eyelashes. Then, cover the eyes again with plastic wrap and leave for 10 minutes.
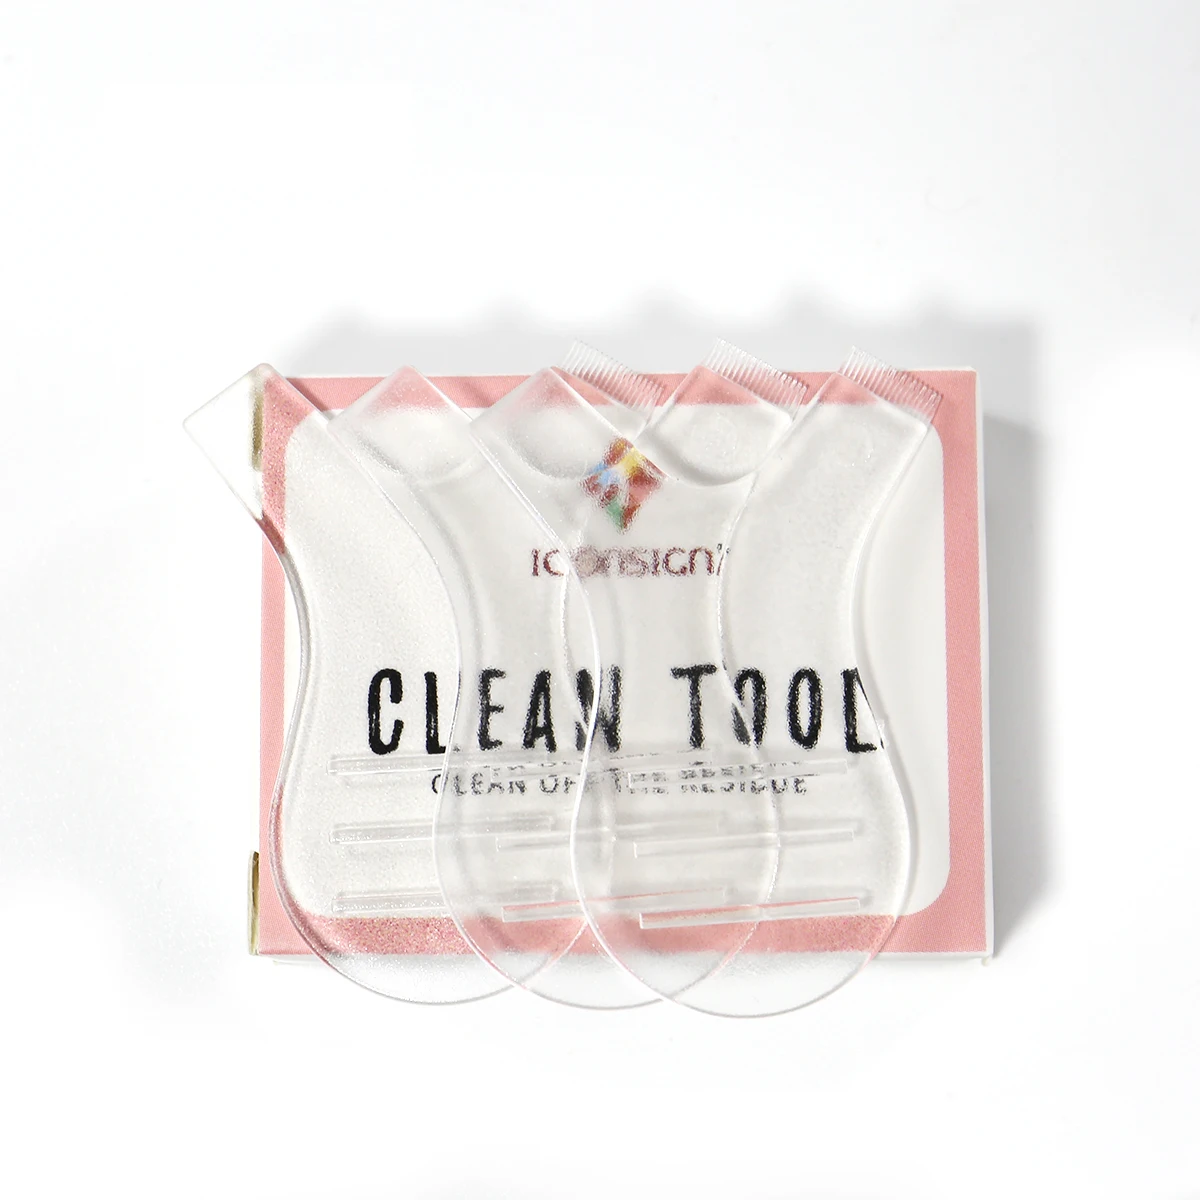
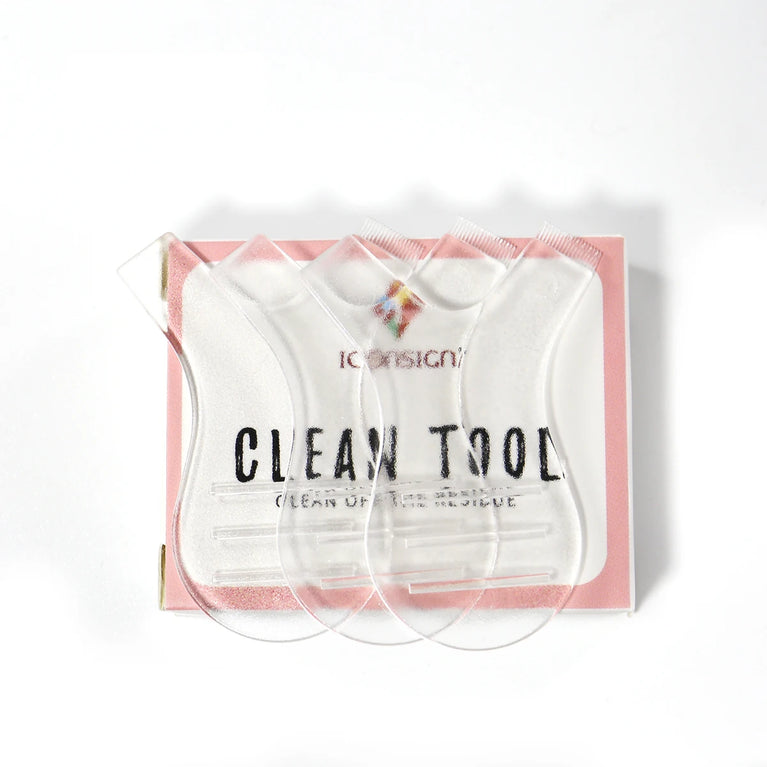
Step 8: Remove the plastic wrap , and use the cleanser #4 to remove any product residue,with the Y brush ,wiping with the comb side.
Step 9: Last, remove the lift pads from the upper part of your eyelid, then use the nutrition lotion #3 to nourish your eyelashes.


Couldn't load pickup availability
Shipping & Returns
Shipping & Returns
Free shipping and returns available on all orders above $99
We ship all US domestic orders within 5-10 business days!
Share


✨ ICONSIGN Upgrade Version Lash Lift Kit – Long-Lasting Eyelash Curl & Volume ✨
Achieve stunning, salon-quality lifted lashes at home with the ICONSIGN Upgrade Version Lash Lift Kit! This enhanced formula ensures beautifully curled lashes that last 6-8 weeks, giving your eyes a naturally lifted and voluminous look.
💖 Why You’ll Love It:
✔ Long-Lasting Curl – Enjoy lifted lashes for up to 8 weeks.
✔ Easy At-Home or Salon Use – Simple application with professional results.
✔ Gentle & Safe Formula – Designed to nourish lashes while enhancing their curl.
✔ Cost-Effective & Time-Saving – Skip the salon and achieve professional results at home.
✔ All-in-One Kit – Includes everything needed for a perfect lash lift.
💡 How to Use: Follow the step-by-step instructions included in the kit for a flawless lash lift that enhances your natural beauty! 💕
A 10-piece set with everything you need for a full lash perm
You won't have to buy any other tools, creams or glue. All you need for a long-lasting curl comes in one box.
Specifications:
1. Silicone perming rod: 5 pairs(S,M,M1,M2,L)
2. 2 Heands Y-shape Brushes: 3 pieces
3. Cleanser lotion :1 bottle
4. Perming lotion : 1 bottle
5. Fixing lotion : 1 bottle
6. Nutrition lotion : 1 bottle
7. 5ml/bottle False Lashes Glue: 1 bottle
8. Eyelash Brush: 10 pieces
9. Micro brush: 5 pieces
10. Eye pads: 2 bags
11. Packaging: Whole small kit in one poly bag,save space and shipping cost.
Aftercare instructions:
1.Apply the nourishing aftercare formula to your lashes once every 4–5 days.
2.Approved ingredients that are kind to your skin.
3.Safety-tested and certified, the carefully formulated products won't irritate the delicate skin around your eye. Still, you should always do an allergy test 24 hours before use.
How to use
Application Instructions: Easy-to-follow application instructions for professionals and amateurs alike
Step 1: Use the cleanser to remove any oil, dust or makeup residue from the eyelashes
Step 2: Put the under-eye pads on the lower eyelids
Step 3: Apply the glue to the back of the lash lift pads, wait for 20 seconds, then put them on your eyelids. As close to your lash line as possible.
Step 4: Apply the glue to the front of the lash lift pads. (Top Tip: No need to put too much glue, it needs to wait for 30-60 seconds then put the lashes on.)
Step 5: Use a Y brush to lift the lashes from the root back onto the pads. The lashes should be aligned and not crossing each other.
Step 6: Apply the perming lotion #1 to the eyelashes. Then cover the eyes with plastic wrap and leave for 10 minutes.
Step 7: Remove the perm lotion #1 with Y brush , then apply the fixing lotion #2 to the eyelashes. Then, cover the eyes again with plastic wrap and leave for 10 minutes.
Step 8: Remove the plastic wrap , and use the cleanser #4 to remove any product residue,with the Y brush ,wiping with the comb side.
Step 9: Last, remove the lift pads from the upper part of your eyelid, then use the nutrition lotion #3 to nourish your eyelashes.
